The Image separator module that comes with the Ultimate Addons for Beaver Builder within the Next Theme lets you use image separators between rows or sections on a page.
Here are a few Details you would want to know about this module.
How to use an Image Separator?
1. Add a New Page or open an existing one in the Page Builder.
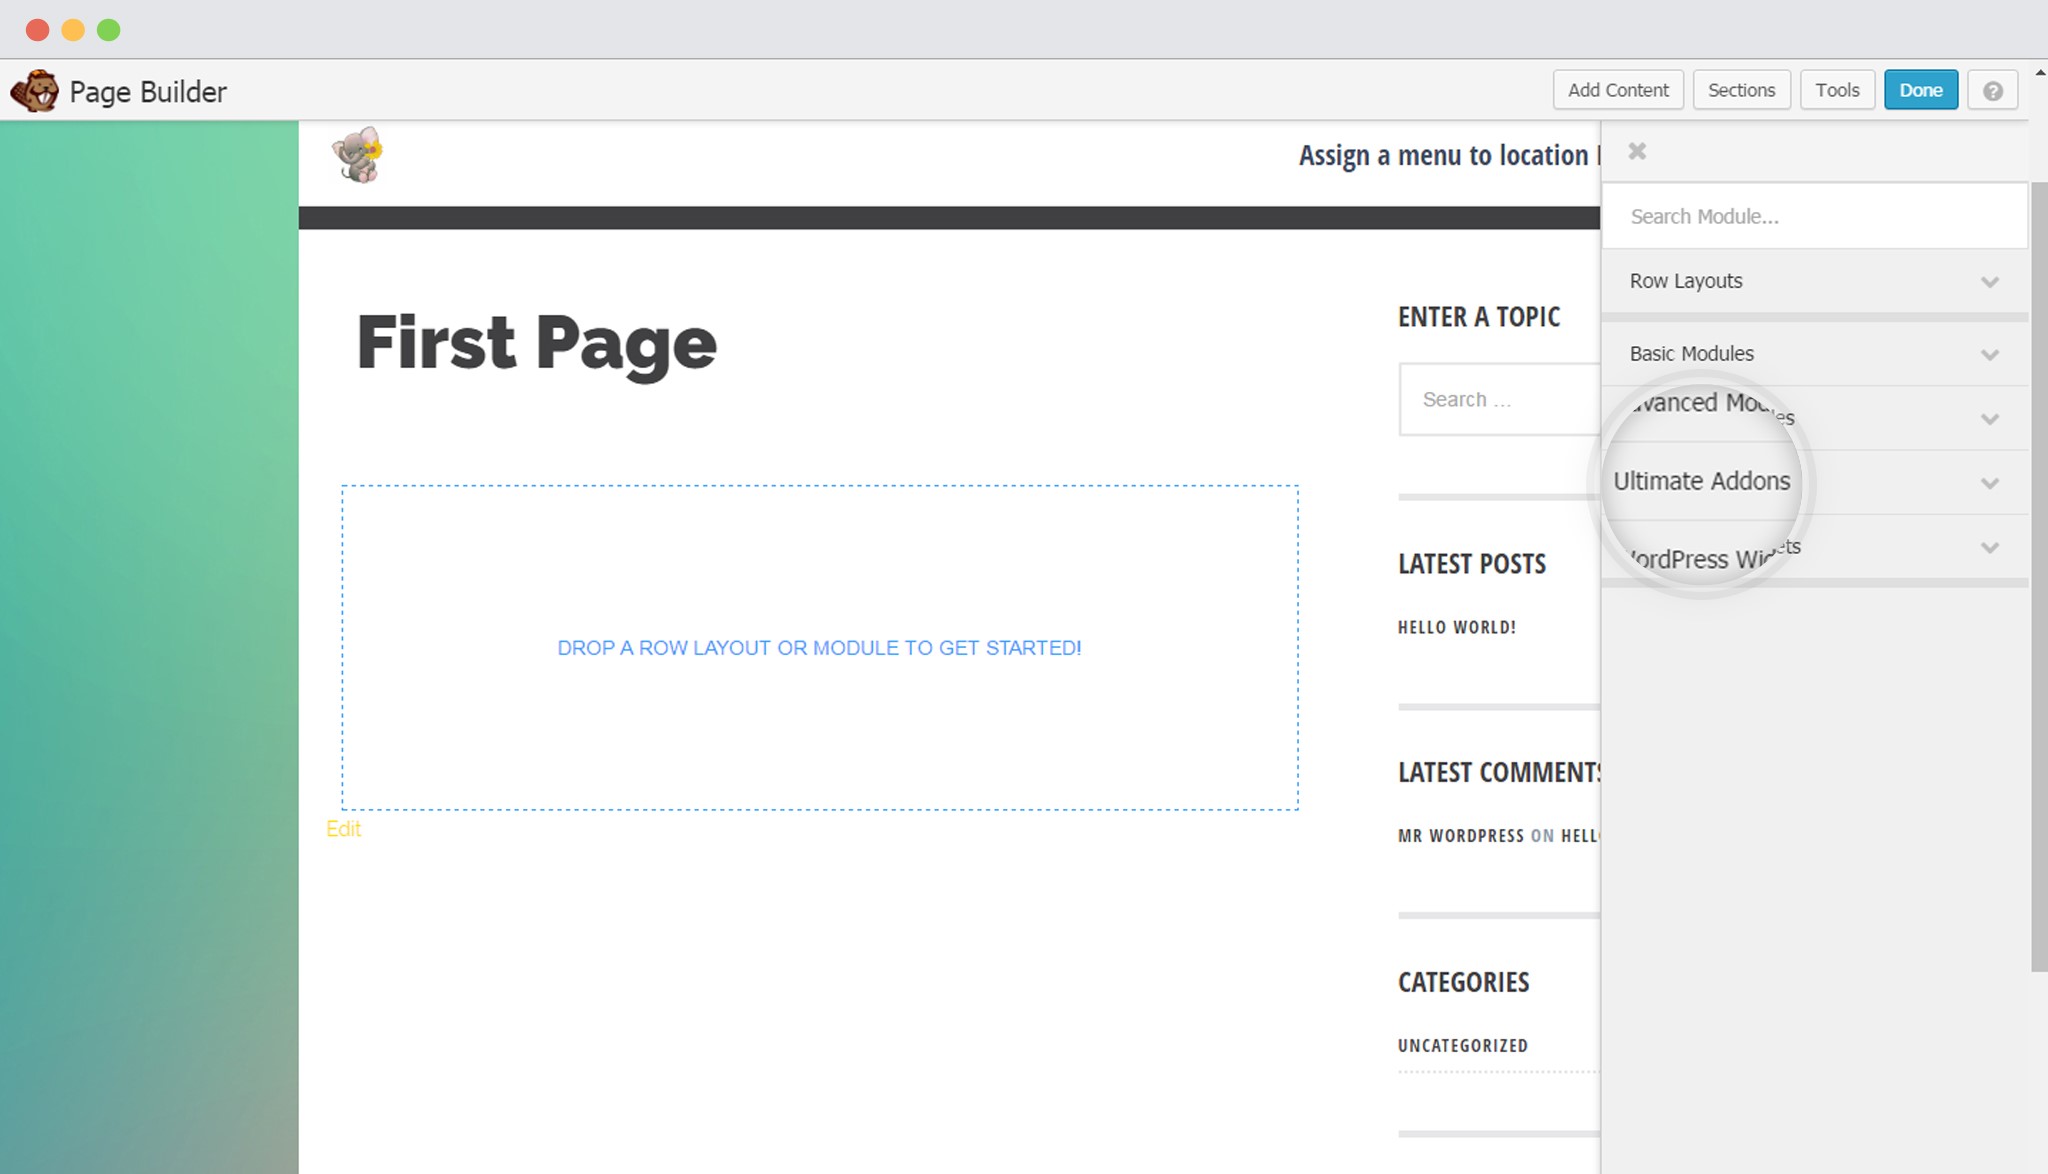
2. Under the Add Content column, click on Ultimate Addons
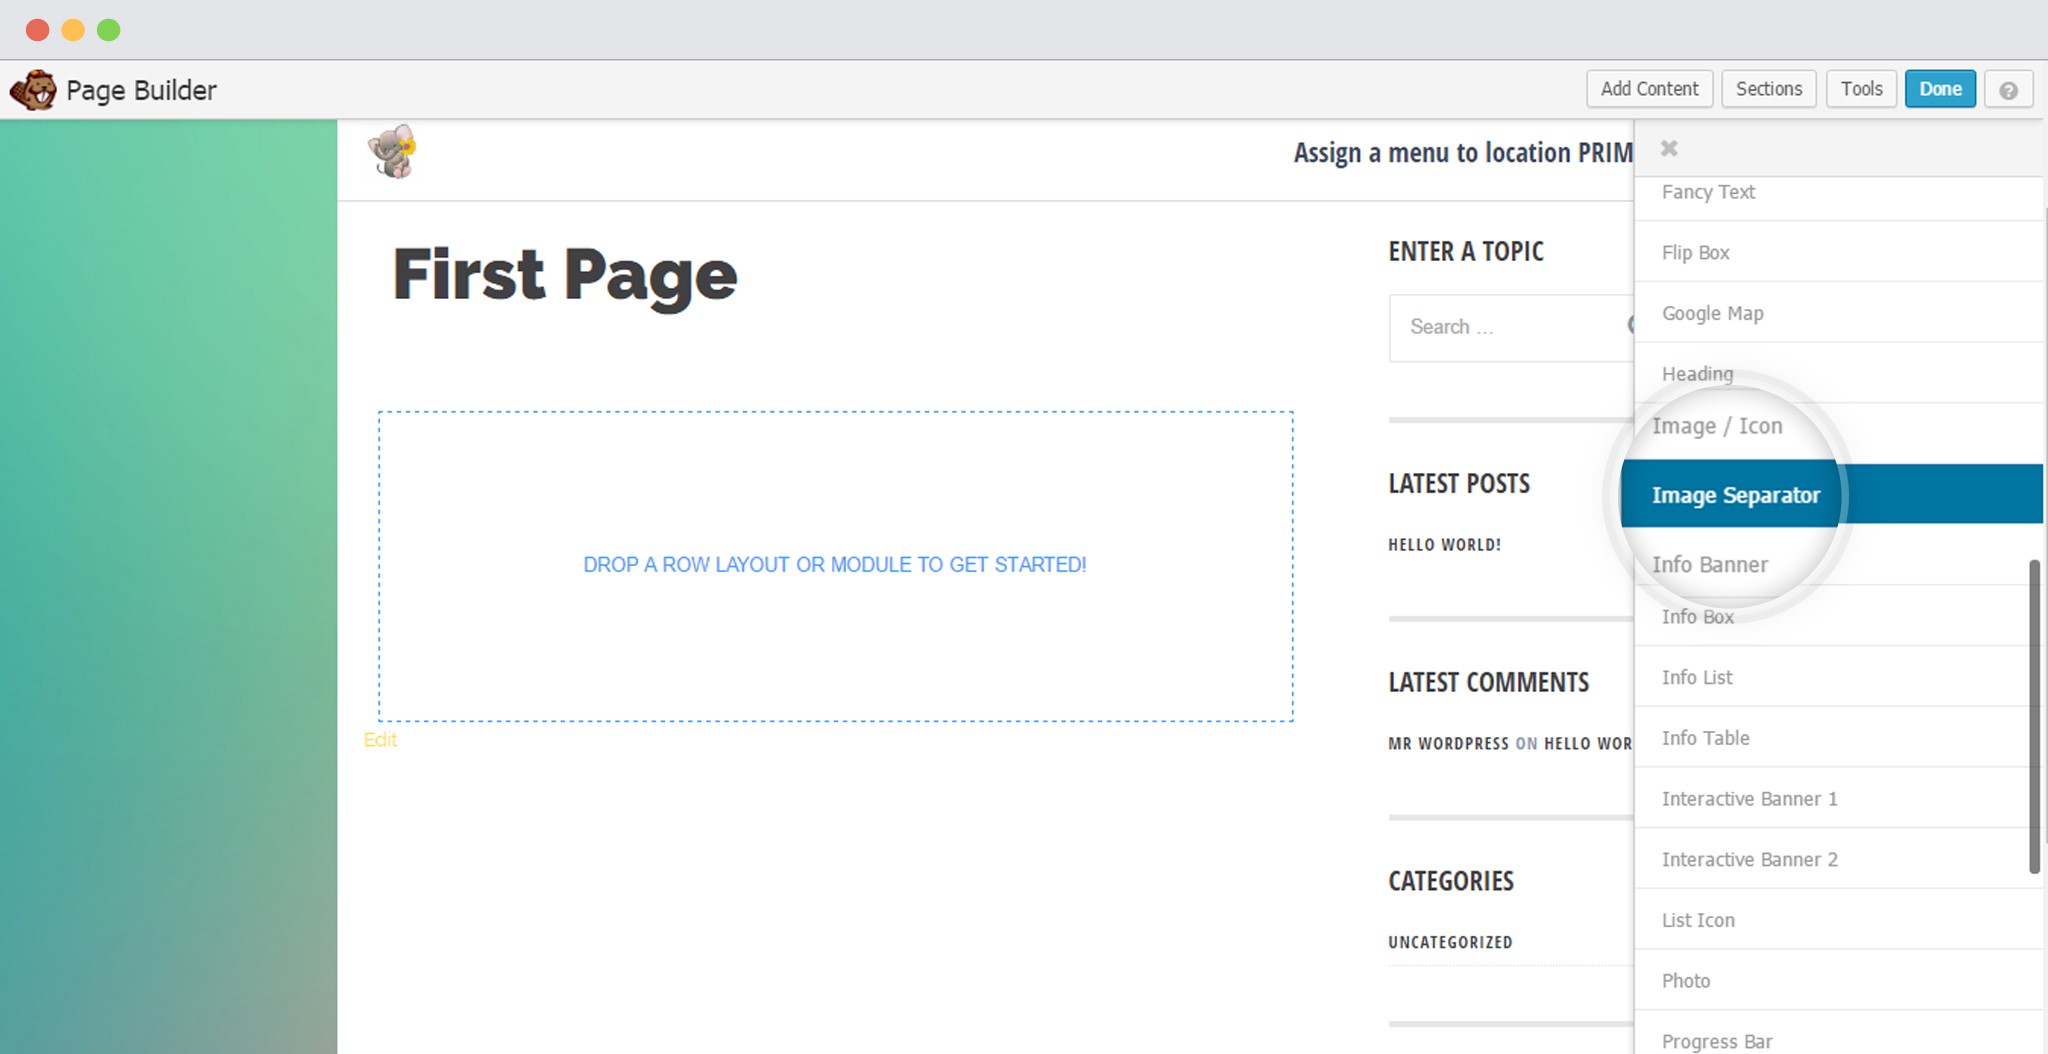
3. Scroll down to Image Separator and drag and drop it on the page.
You will find a settings window opened.
Customizing the Image Separator:
Under the General settings you can:
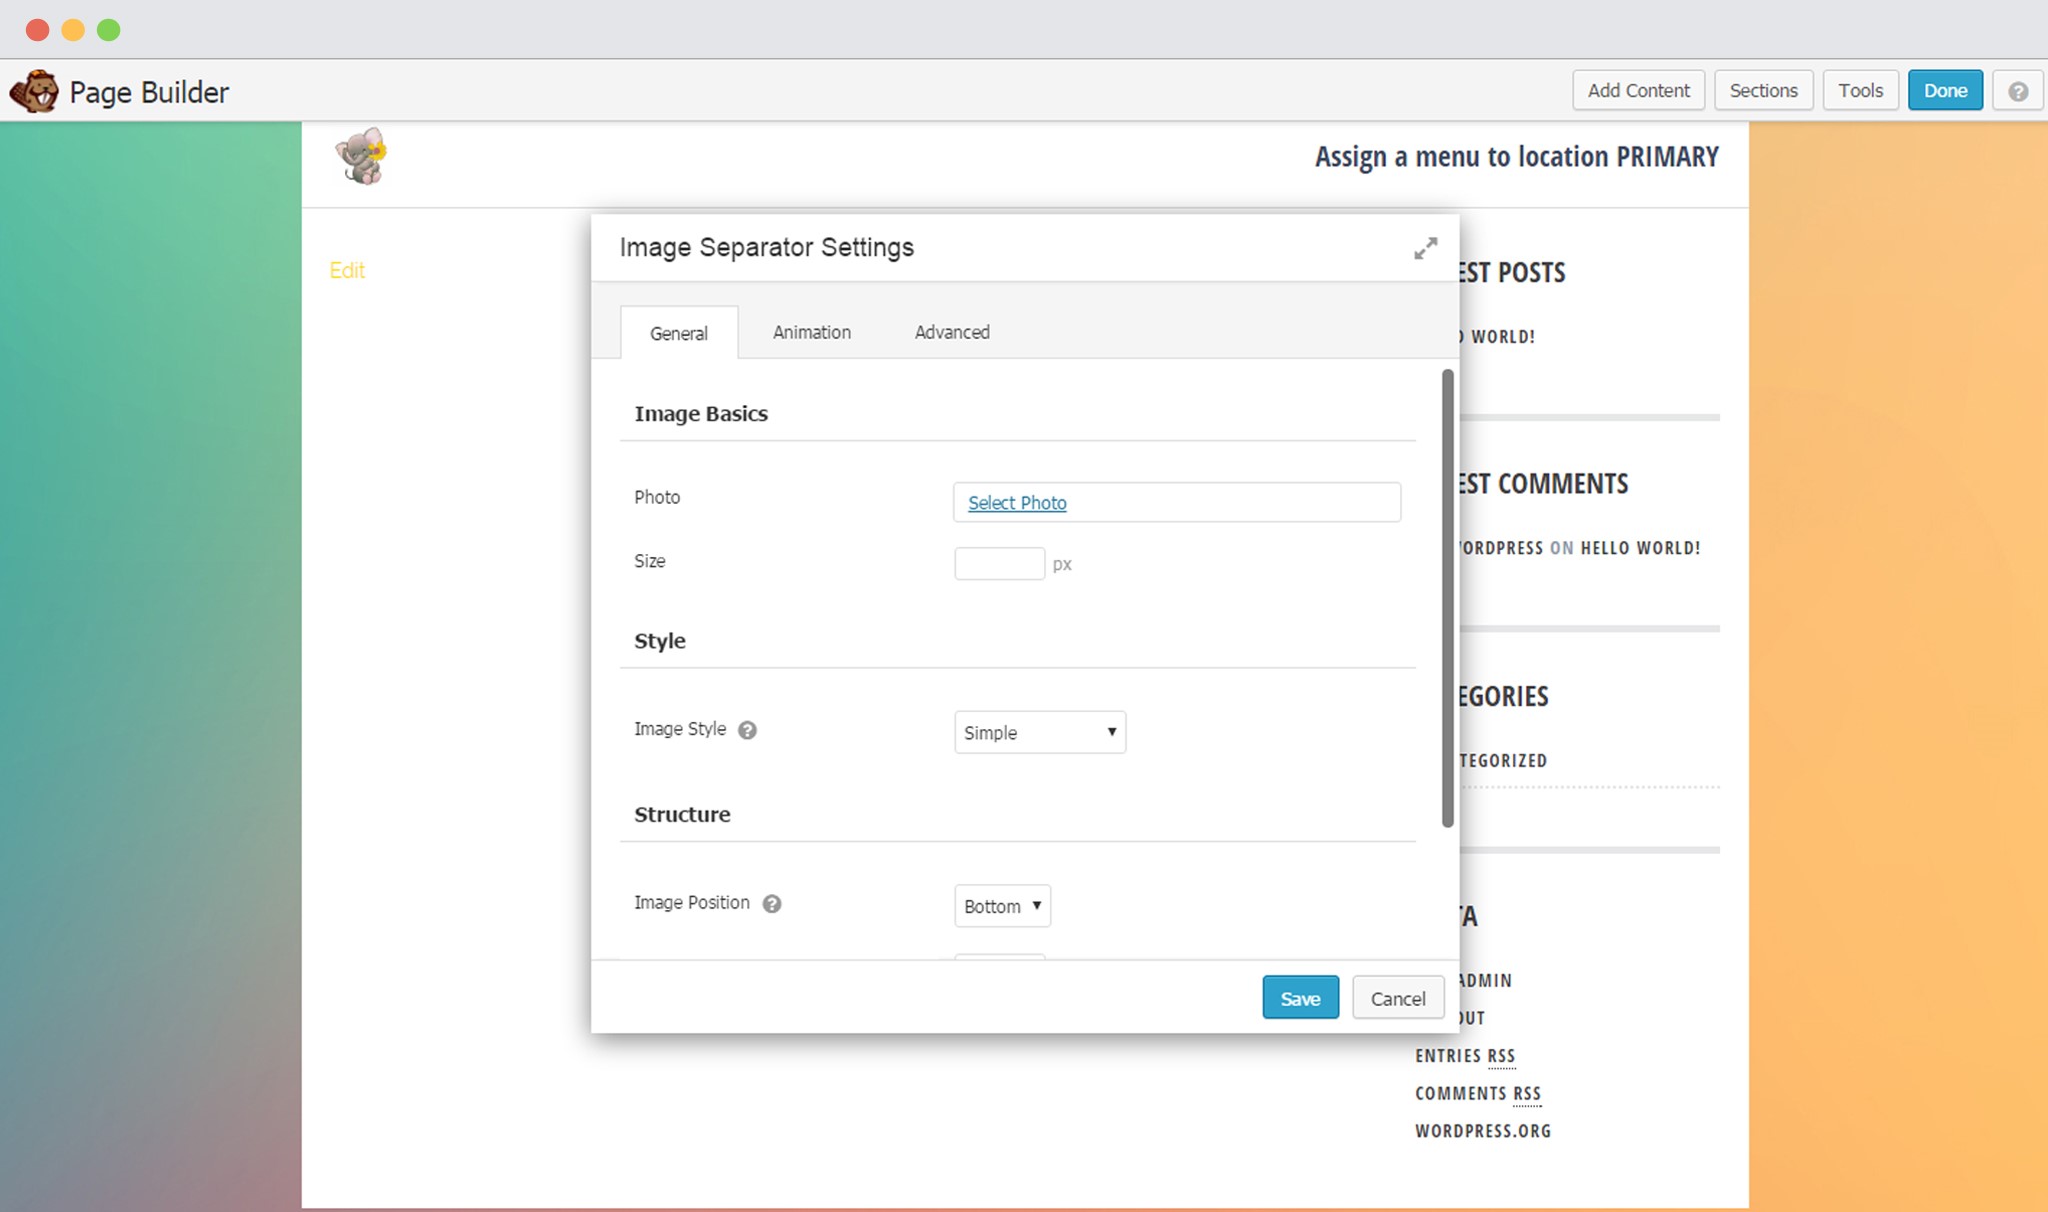
- Add an image you wish to use.
- Set the Size of the image.
- Select the style, i.e. Simple, Circle, Square or you can design it yourself.
- Set the image position, i.e. Bottom or Top
- Set the Gutter (push the image outside or pull it in)
- Add a link if you wish to make it a clickable image.
Under the Animations tab, you can manage all the animation related settings for the image.
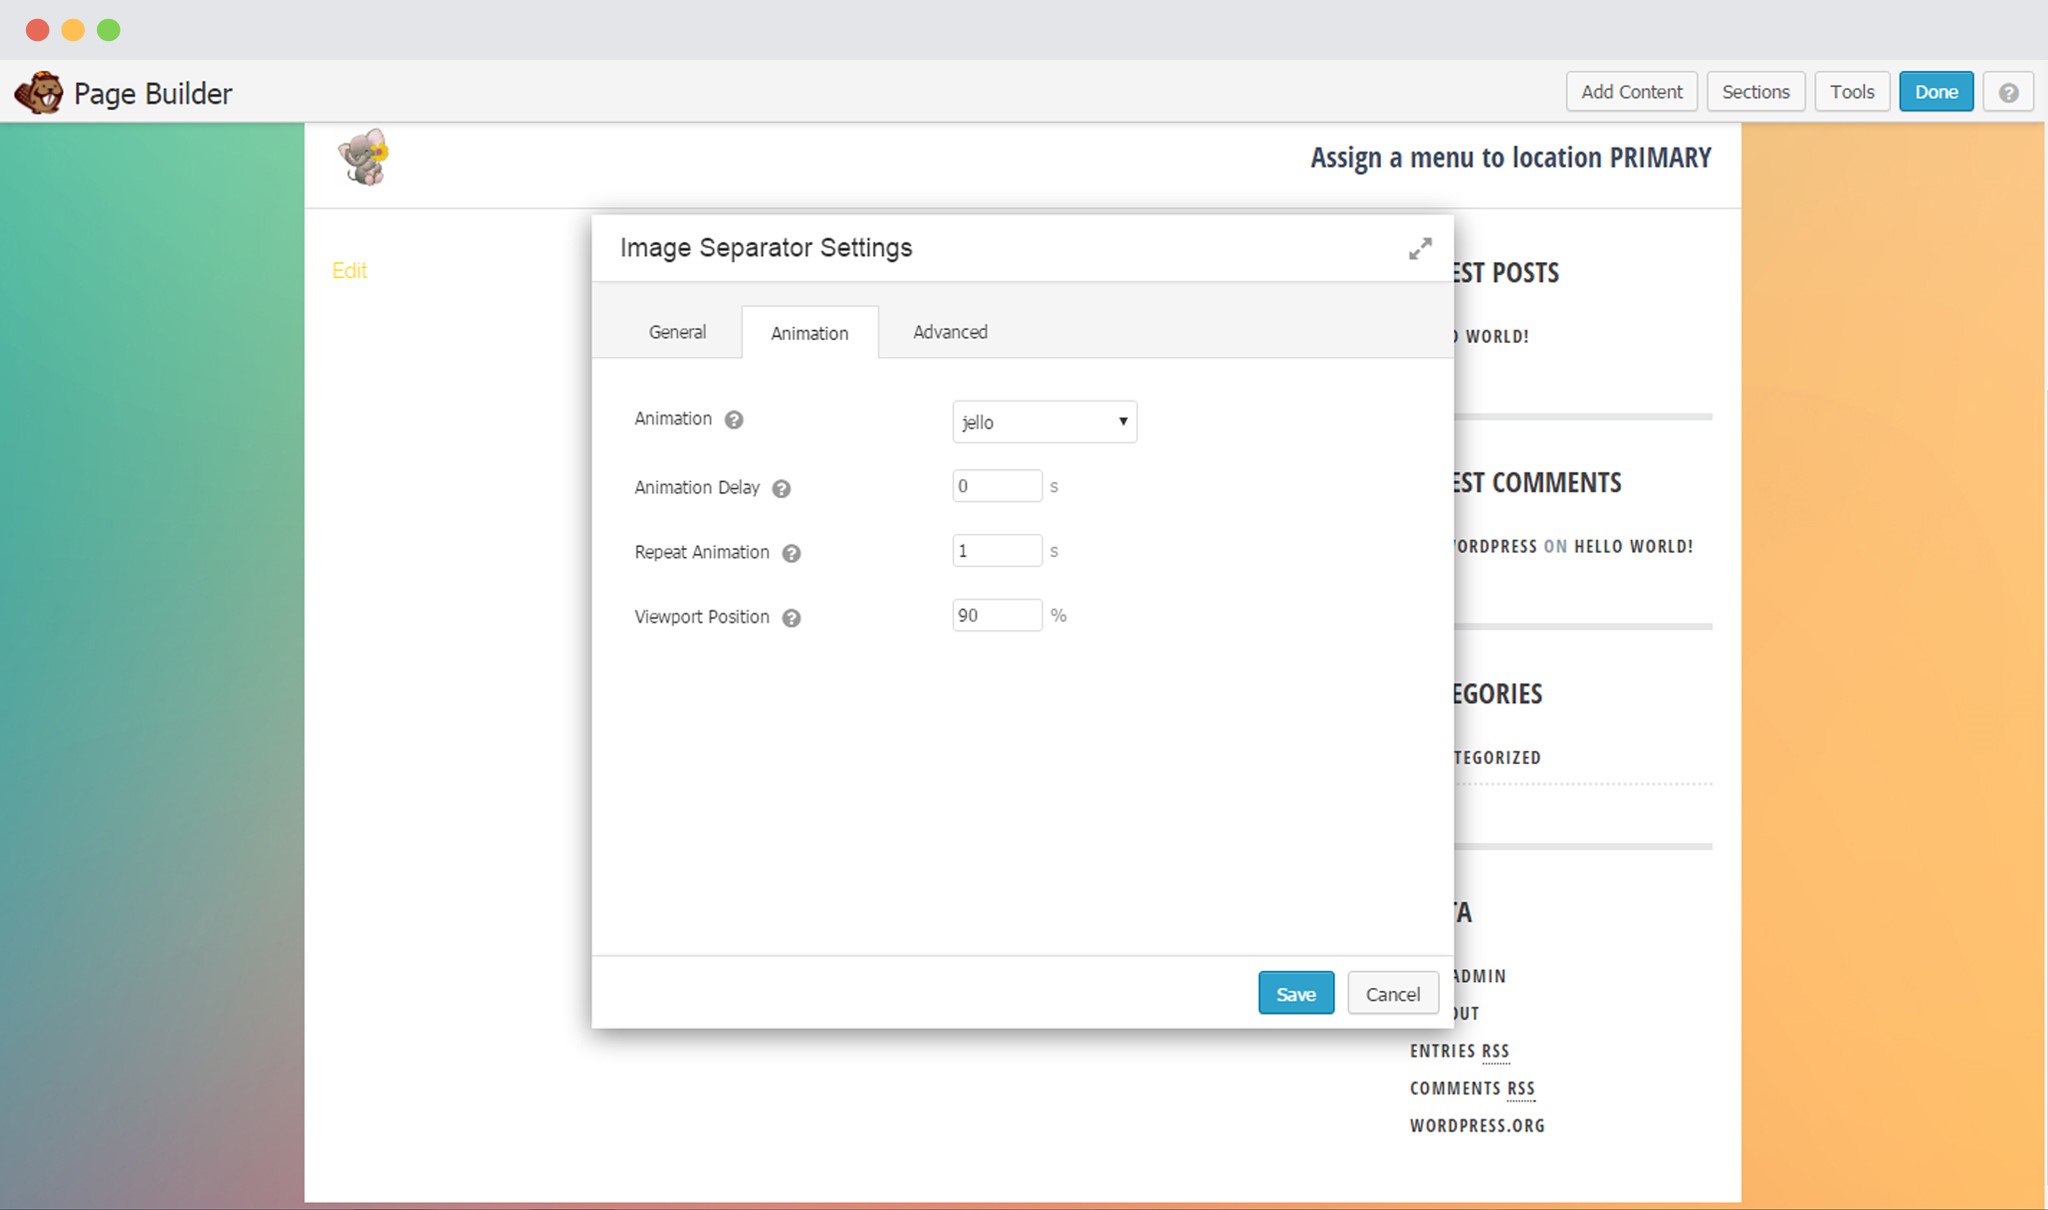
- You can select among 40+ animation styles available.
- You can set the delay time
- You can set the number of times you wish to repeat the animation.
- Set the Viewport position that will trigger the Animation.
The Advanced settings can be used in case you wish to add margins, Responsive layout, visibility, animation and the CSS Selectors.
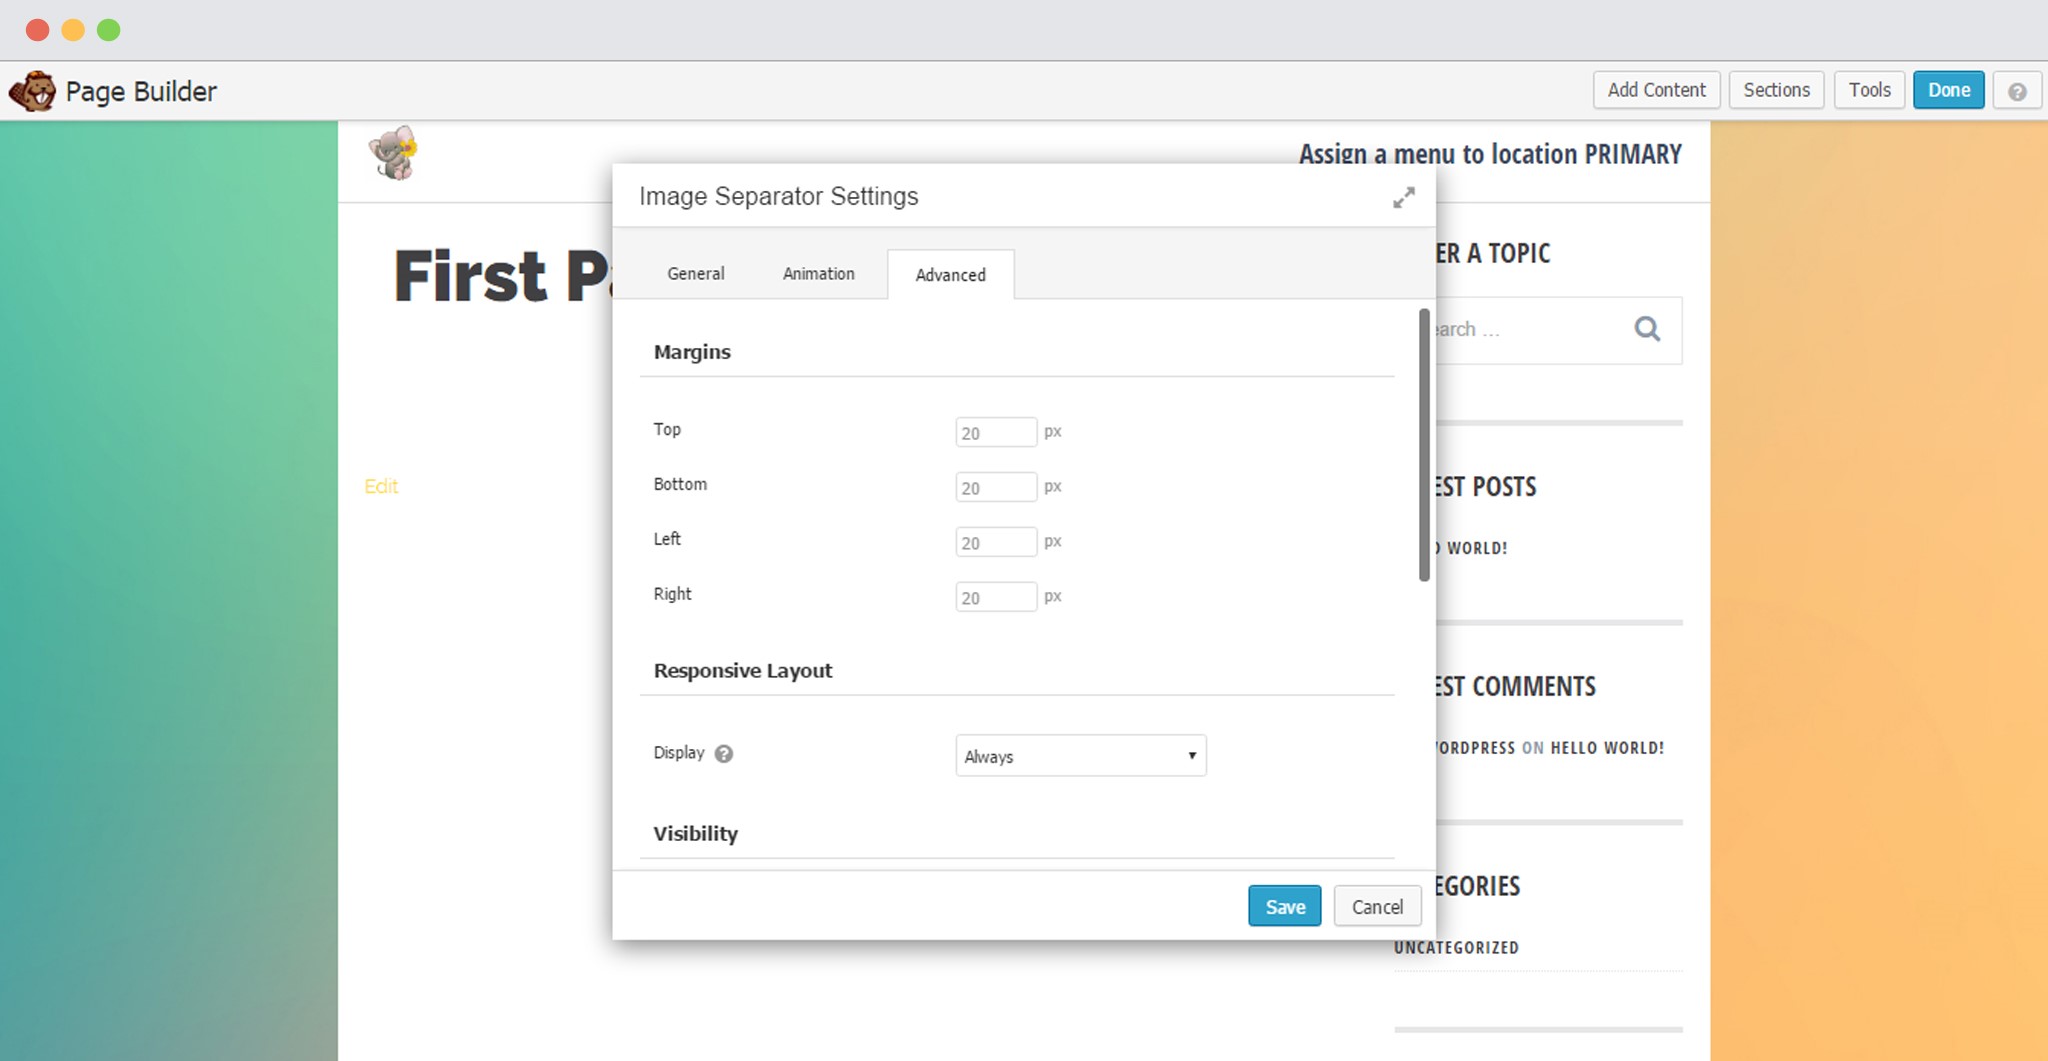
- Add margins to the top, bottom, left and right of the image.
- Enable the image to be displayed on all devices, or enable it for a particular device.
- Decide whether you wish to display the image always, or to logged in users or logged out users or never.
- Select an Animation and set the delay time.
- Set CSS Selectors, i.e. an ID or a class for the image.
Save your Settings after you are done customizing the image separator.