It is observed that not all popups or opt-in forms can be created to be displayed on the entire website. For example: You cannot display a popup with offers on a Contact us page; neither can you ask the user to buy something while he is reading a blog post.
ConvertPlug therefore allows you to display the right popups or opt-in form on the right page. Identifying a page the users are on and displaying the right message through popups or opt-in forms will increase the chances of conversion.
Let us take a look at how we can perform page level targeting using ConvertPlug.
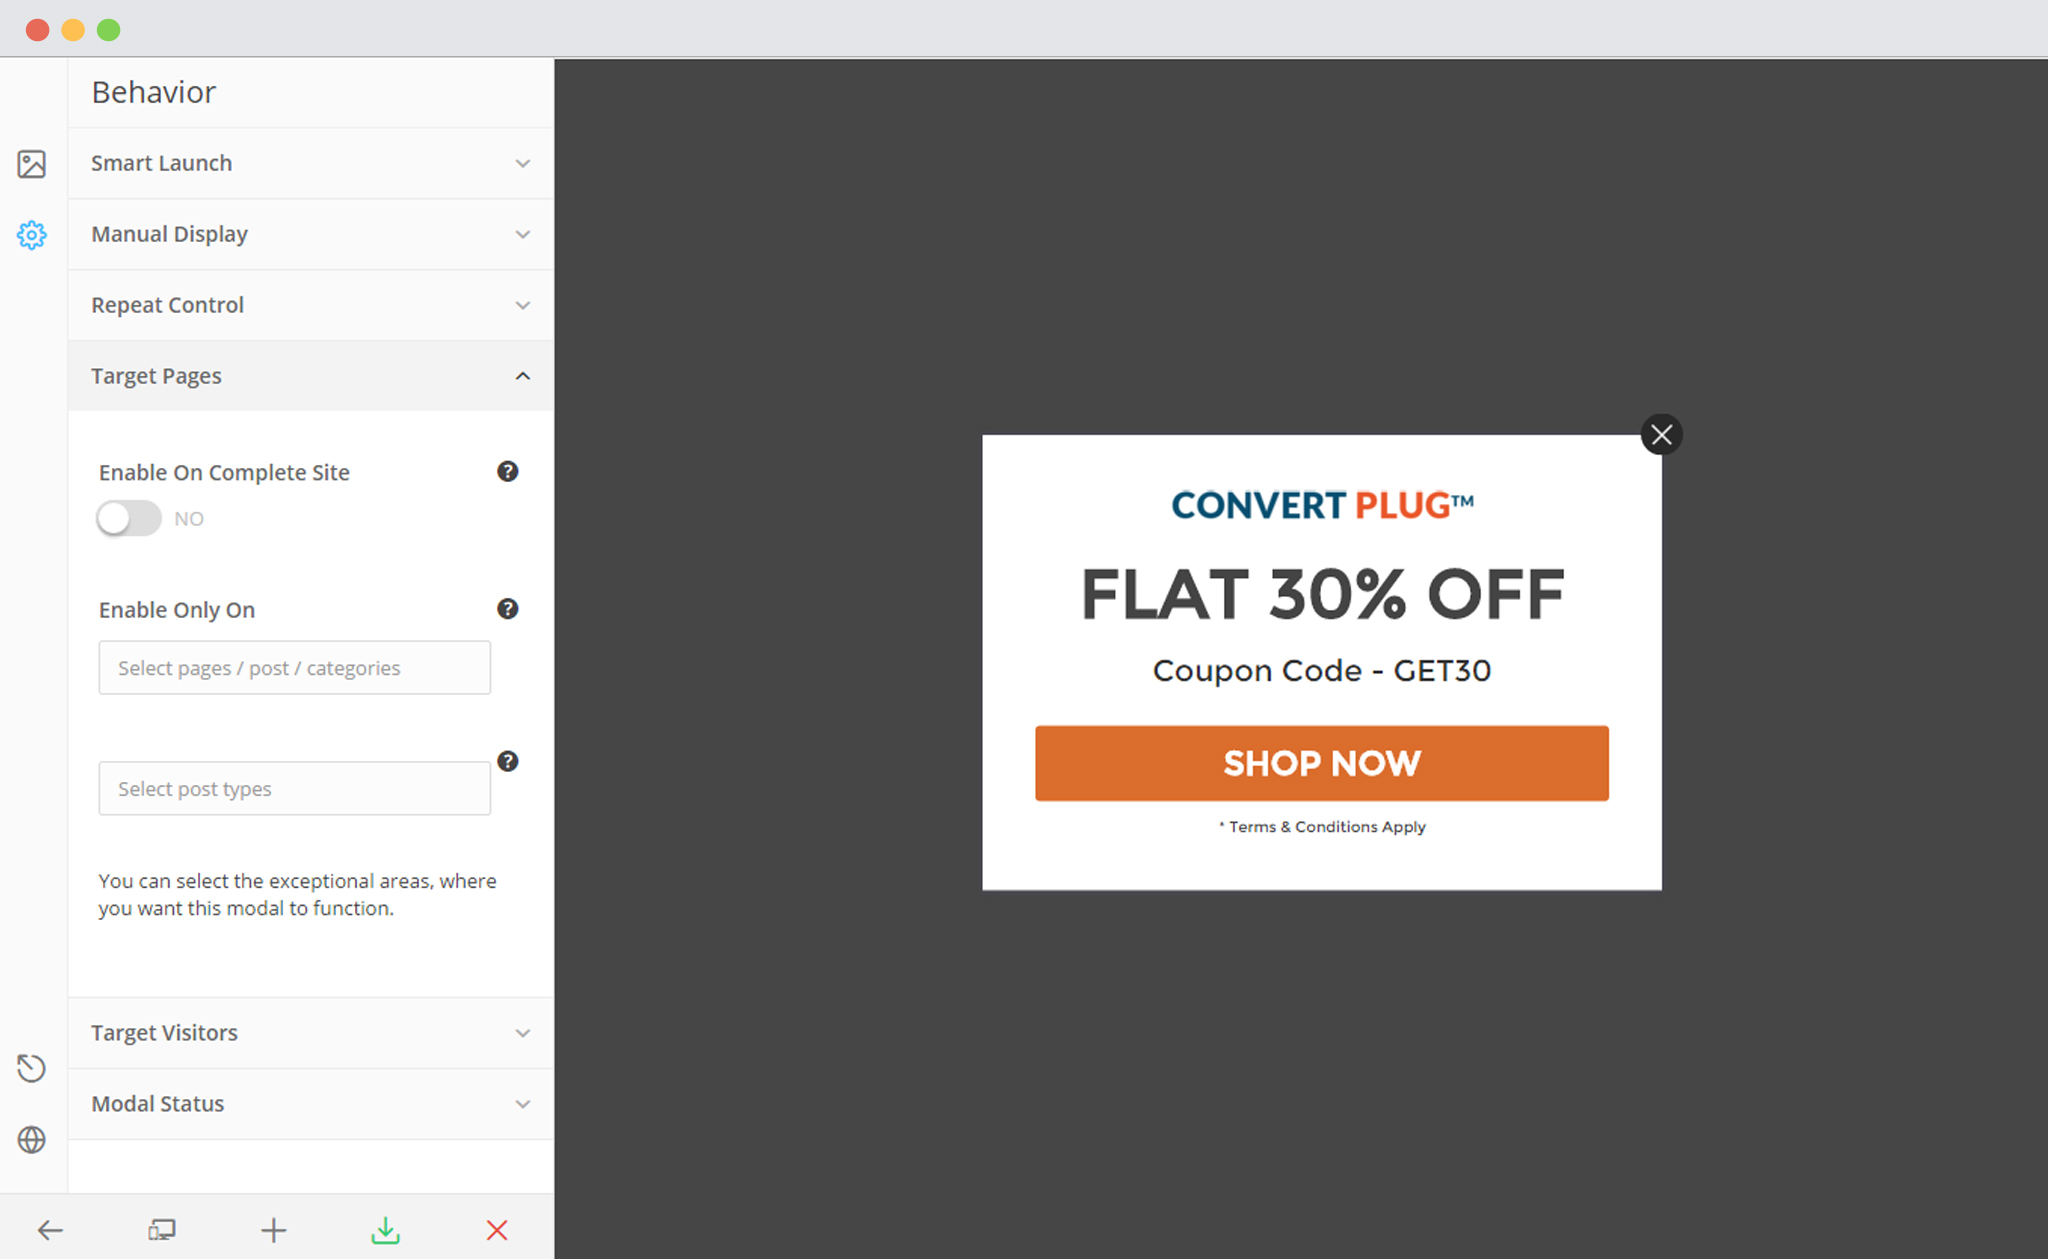
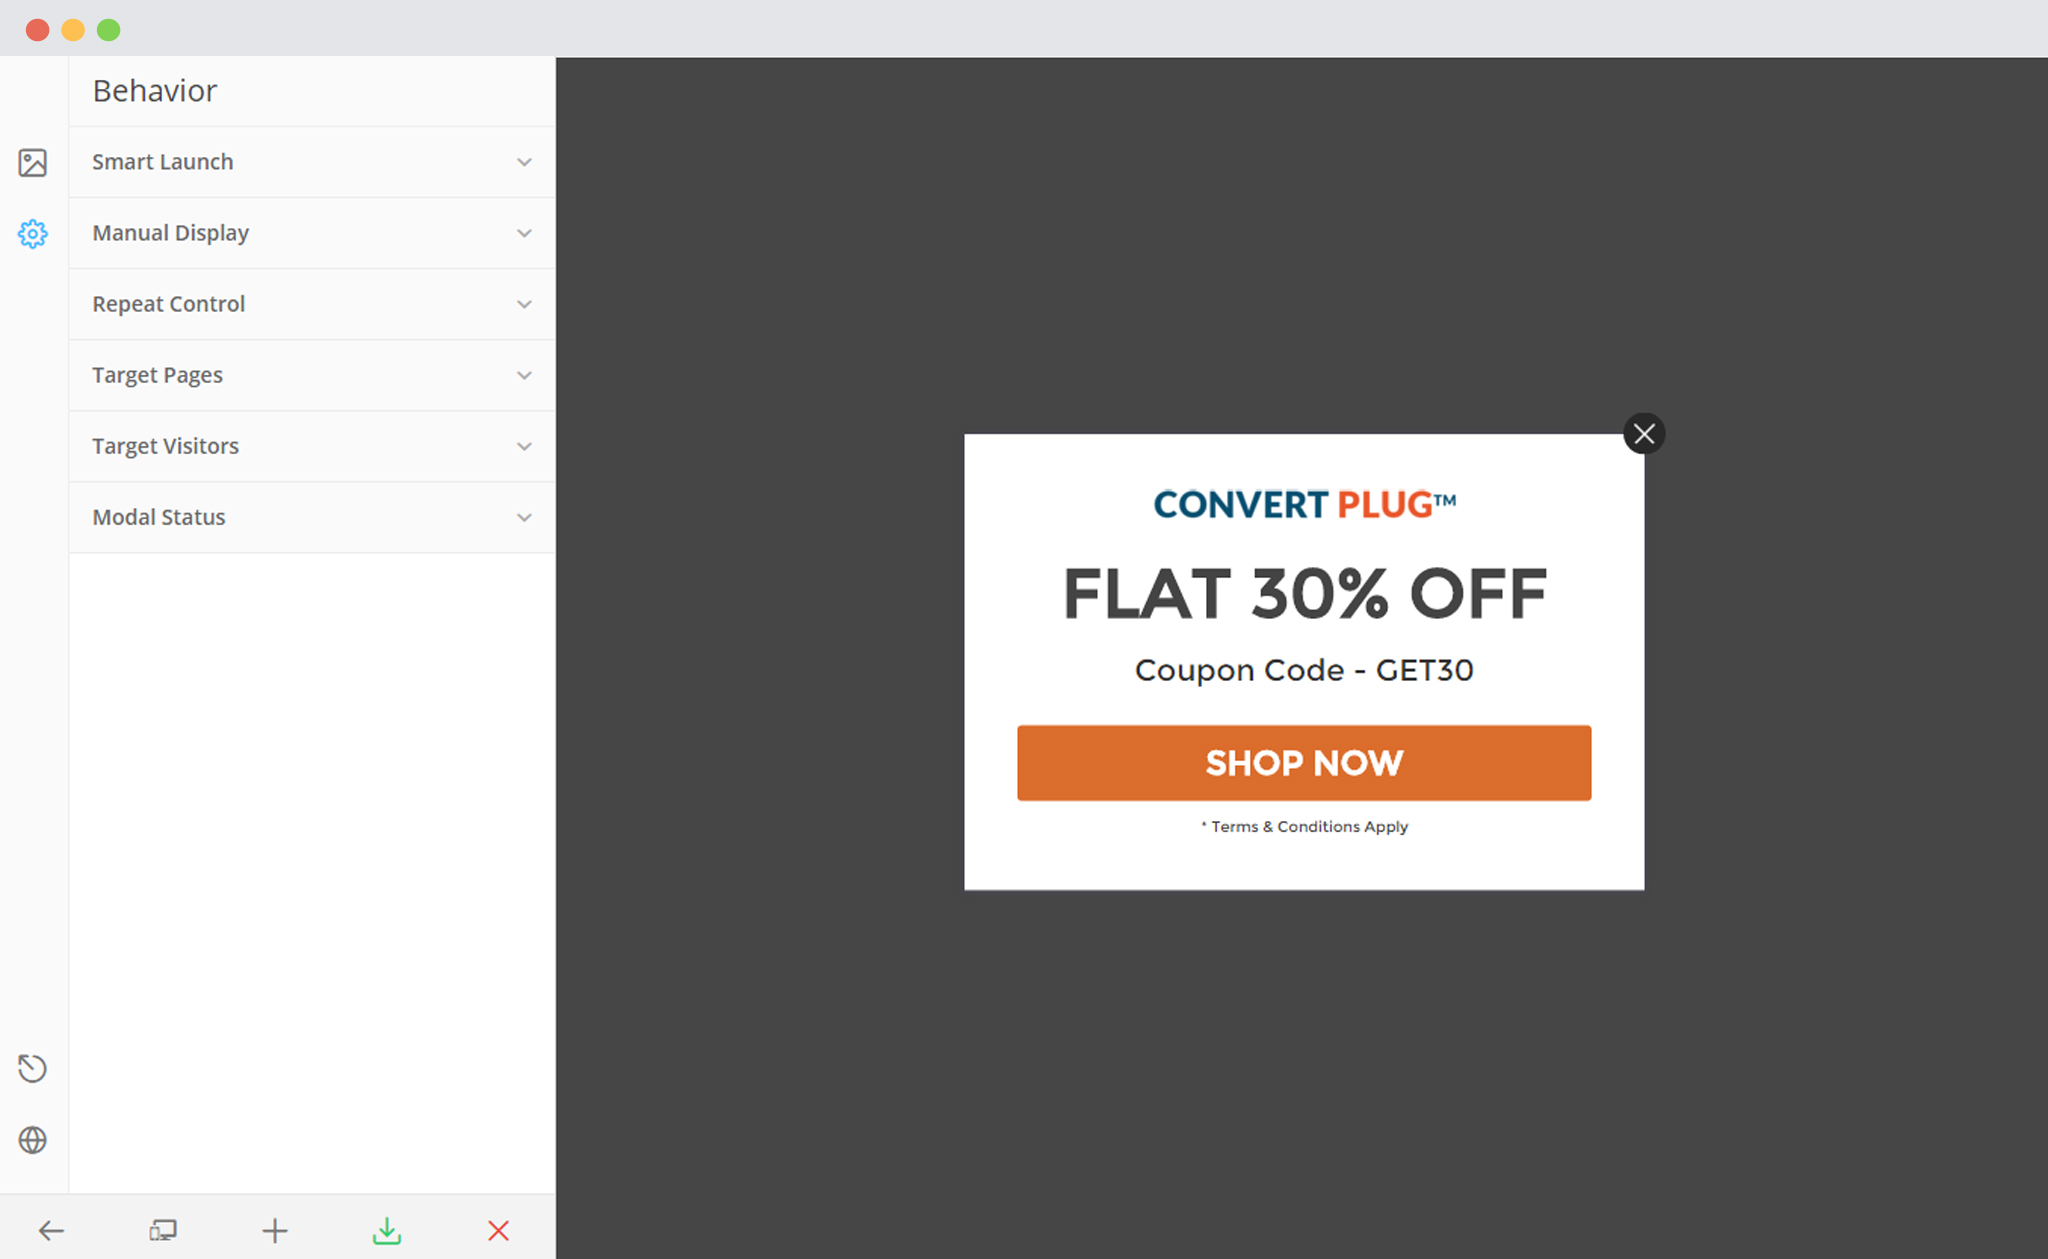
1. Create a design a Module. Open it in the Editor. Click on Behavior and then on “Target Pages”
a. Enable on Complete Site
When you choose the enable a module on the complete site, you can also disable them on a few exceptional pages, posts, categories or sections of your website.
You will find 2 fields here
The first field lets you select a single post, page, custom page or category you wish to hide the module from.
The second field lets you select a group of posts, pages, special pages, categories or taxonomies you wish to hide the module from.

b. Do not Enable module on Complete site
When you do not wish to enable the respective module on the complete site, you will have to enter a page, post, post type, categories or sections you wish to display the module on. The module will not be displayed on any other page apart from the ones you select in the dropdown menu.
You will find 2 fields here
The first field lets you select a single post, page, custom page or category you wish to show the module on.
The second field lets you select a group of posts, pages, special pages, categories or taxonomies you wish to show the module on.